Installing wallpaper can instantly transform any room, but the key to achieving that professional finish is knowing the correct techniques. This comprehensive guide provides step-by-step instructions to ensure a flawless installation, from gathering the right tools to the final touches.
Table of Contents
Preparation: Tools and Materials
Before you begin, it’s essential to gather all the tools and materials you’ll need for the job. This preparation prevents interruptions once you start, making the process smoother and faster.
Tools You Will Need:
- Measuring tape
- Wallpaper paste and paste brush
- Utility knife
- Smoothing brush or roller
- Plumb line or laser level
- Sponge and bucket (for cleanup)
Key Materials:
- Your chosen wallpaper
- Wallpaper primer (if necessary)
Step 1: Wall Preparation
To ensure the best results, it’s crucial to prepare your walls. This involves cleaning them of any dust, dirt, or grease and smoothing out any imperfections.
Remove Old Wallpaper
If you’re replacing old wallpaper, remove it carefully. Use a steamer or a wallpaper-removal solution to loosen the adhesive before scraping it off with a putty knife.
Repair and Prime the Walls
Fill any holes or cracks with a suitable filler, sand down the surface to create a smooth texture, and apply a primer. This increases the wallpaper adhesive’s effectiveness and improves wallpaper adherence.
Step 2: Measure and Cut
Measure your wall’s height and add a few extra centimetres for alignment adjustments. Cut the wallpaper strips according to your measurements, ensuring pattern alignment where necessary.
Step 3: Apply the Adhesive
Depending on your wallpaper type, you may need to apply the paste to the paper or directly to the wall. Make sure the adhesive is spread evenly across the surface.
Book the Paper
For wallpapers that need adhesive, allow them to ‘book’ for a few minutes. This process involves folding the paper onto itself and letting it rest, which helps the paste activate and reduces the risk of air bubbles.
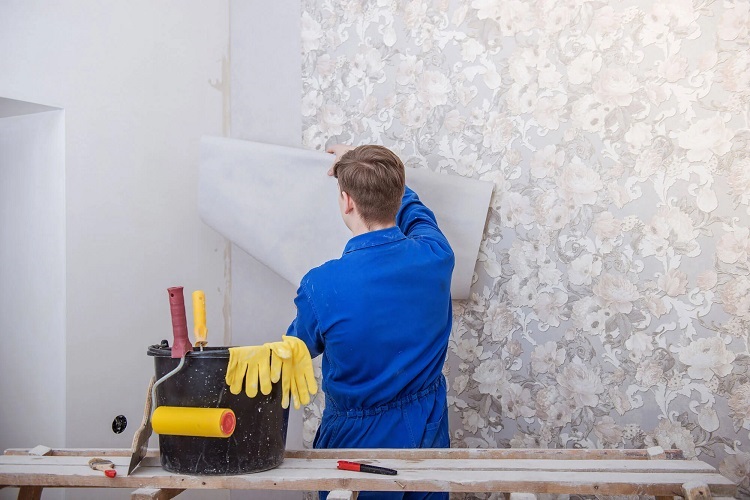
Step 4: Hanging the Wallpaper
Start from the top of the wall, using a plumb line or a laser level to ensure that each strip is perfectly vertical.
Smooth It Out
Use a smoothing brush or roller to press the wallpaper firmly against the wall, working from the centre outwards to push out any air bubbles.
Step 5: Trimming and Cleaning
Once the wallpaper is in place, trim any excess material along the ceilings and baseboards using a sharp utility knife. Use a damp sponge to clean off any excess paste from the wallpaper and surrounding surfaces.
Step 6: The Finishing Touches
Inspect your work for any small air bubbles or overlapping seams. These can often be fixed with a little extra adhesive or a careful slice with a utility knife.
Final Thoughts
Wallpaper installation might seem daunting, but with the right tools and a bit of patience, it’s an entirely achievable project. This guide aims to help you successfully transform your rooms with new wallpaper, ensuring professional results even if you’re a first-timer.